REquipment Is… An Accessible Promo Video!

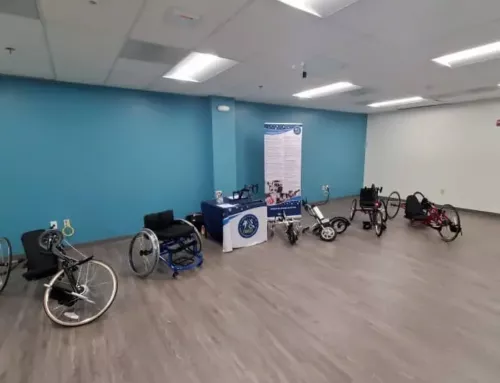
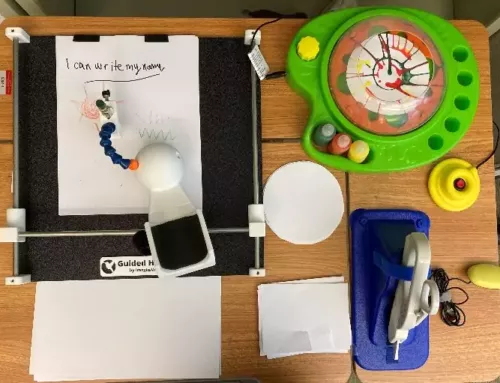
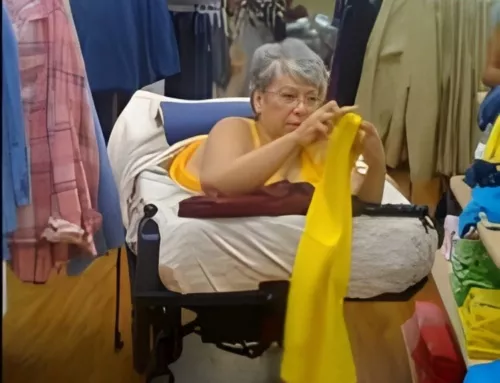
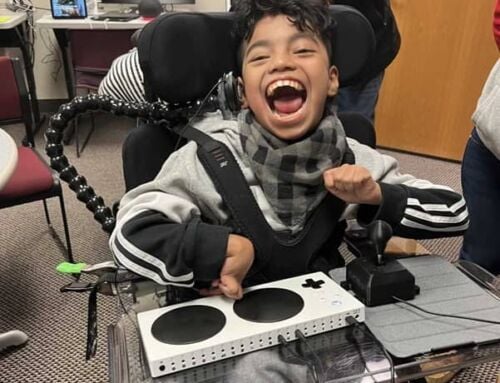
Sharing this project with AT3 Center blog readers is irresistible. To conclude our series on accessible video making, embedded here is a one-minute promotional video I made for the Massachusetts durable medical equipment (DME) reuse program, REquipment.
As with the other posts in this series, my goal here is to demonstrate that making an accessible video is within reach for most lay people. Below I share my lessons learned, but honestly, I’m tickled pink with how this one turned out. The iOS app iMovie gets most of the credit.
https://youtu.be/L4lLLPI1vlU&rel=0
Considerations for Social Media Sharing
As before, my objective is for my video’s information to be accessible to viewers who are deaf/hard-of-hearing and viewers with visual impairments. This time I also wanted to create an upbeat video for sharing on social media, one of those videos that’s already rolling when you trip across it on your Facebook or Instagram feed. This governed a few important decisions.
- The video would best engage with open captions (titles) to ensure the words were rolling with the images and did not need to be turned on.
- Audio should include voice over and audio description from the start (not a retrofit and not a separate version of the video) so that viewers who are blind can access the film’s visual information.
Loyal readers will recall that one option for open captions is to use the iOS app Clips. Clips, however, has no capacity for adding audio description. The website YouDescribe is a great option for retrofitting audio description if a video is uploaded to YouTube. But sharing a YouDescribed video on social media is not very satisfying; only a link is provided to your feed. The same is true for sharing directly from YouTube.
Videos uploaded to a Facebook page, however, do roll and captions may be added using Facebook tools. What I wanted, however, was a video ready to share across social media platforms. I also wanted captions to show for all users and Facebook captions may be turned on or off in settings. The iMovie app proved to be a good solution.
Using the iMovie App
As mentioned in Part 3 of this series, the iMovie app is available for iPad and iPhone, and allows for adding a second audio track for voice over and audio description. For this project, to my delight, I discovered iMovie can additionally layer theme music. For “REquipment is…” I experimented with the iMovie theme “Simple” and the music it provided worked well. I never looked further.
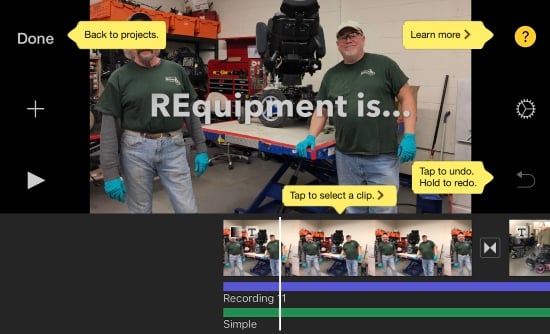
iMovie app screenshot with two audio tracks. The green is the Simple theme music. The purple is voice over and audio description.
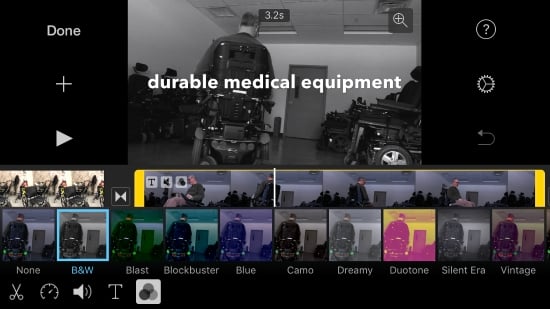
iMovie screenshot with black and white option for the video clip selected.
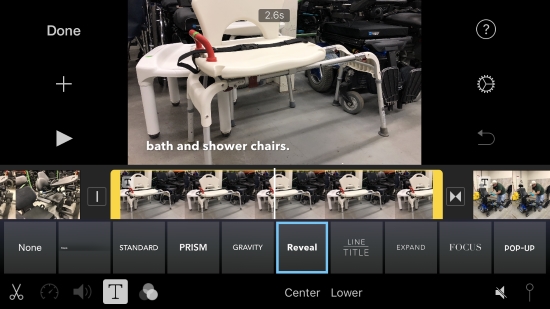
iMovie screenshot with title options open
Recording Voice Over and Audio Description–My Aha! Moment
My aha moment came when I saw the advantage of recording voice over (reading the titles) and audio description (describing the action) together in one continuous track. There were several reasons to do it this way:
- Attempting to place separate distinct audio clips exactly where I needed them proved nerve wracking. It made for awkward takes that did not flow smoothly one to the next.
- Separate audio clips also sounded canned. They interrupted with ambient noise in addition to my speaking voice. Recording one continuous audio clip provided greater consistency across the video.
- One continuous audio clip made it possible to modulate my voice between voice over and audio description and help distinguish between them.
- Recording continuously allowed me to relax into speaking as the video played. I found it was far easier to gauge what there was time to say as the images rolled and to imagine I was communicating with an audience.
Learn how to add and record audio with the iMovie app.
Thus concludes our series on accessible video making for lay people. Happy filming everyone! And if you have an accessible video you’ve made for your State AT Program, I’d love to know about it. Email me at atprogramnews@gmail.com.
Read the rest in our series:
Part One: Accessible Video Making with Clips
Part Two: Accessible Video Making with YouDescribe
Part Three: Accessible Video Making with InstaMorph
Monthly Blog Digest
Search the blog
State AT Program Blogs
California
Florida
Indiana
Kentucky
Louisiana
Maryland
Massachusetts
Michigan
Montana
North Carolina
North Dakota
Utah
State AT Program Blogs
The AT3 Center, the Association of AT Act Programs (ATAP), and the Administration on Community Living (ACL) make no endorsement, representation, or warranty expressed or implied for any product, device, or information set forth in this blog. The AT3 Center, ATAP, and ACL have not examined, reviewed, or tested any product or device hereto referred.


Related Posts
If you enjoyed this post, then please explore other articles below.